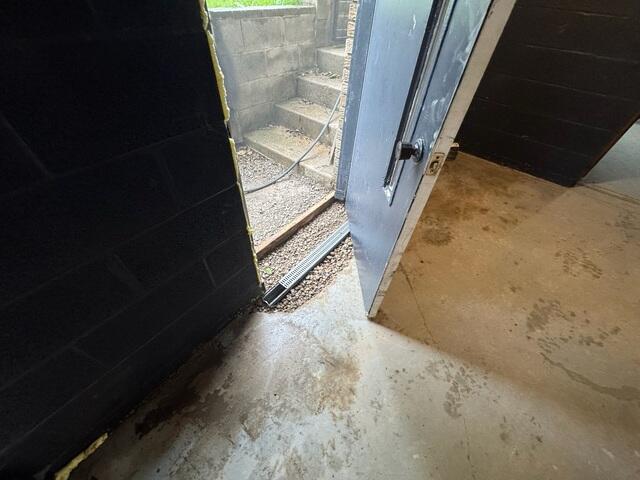
TrenchDrain Installation at the Walkout
Our crew begins installing the TrenchDrain at the base of the walkout door. This system intercepts surface water before it can enter the basement.
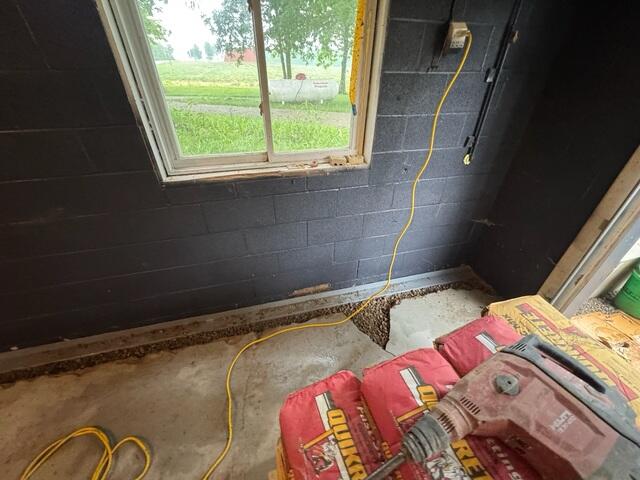
WaterGuard System in Place
With the drainage trench cleared and leveled, our team installs 140 feet of WaterGuard to capture water at the footing and direct it to the sump pump.
WaterGuard Installation
The WaterGuard is places into the trench, and then backfilled with gravel.
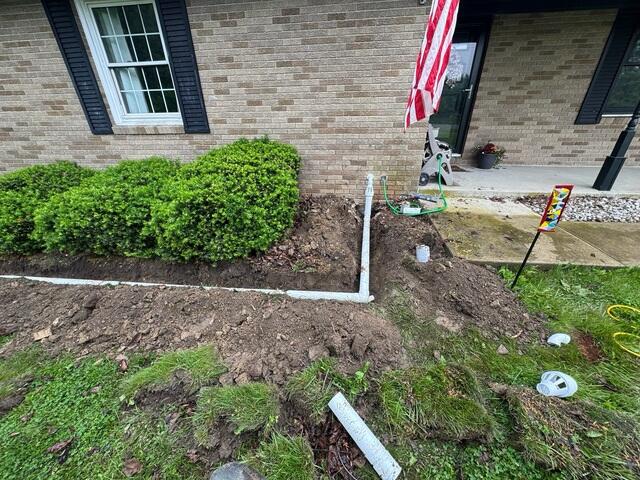
Downspout Extension
We extended the existing downspouts away from the foundation using durable underground piping to prevent future water issues near the home. Our IceGuard system is also installed to keep the line from freezing when the colder months come.
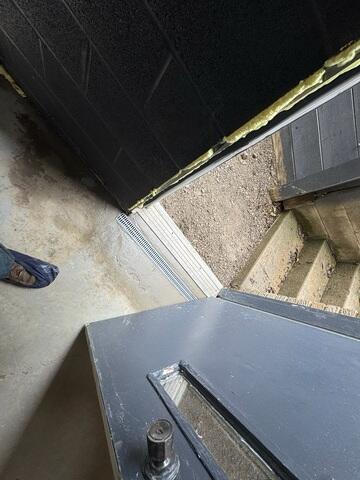
Trench Drain
The Trench Drain after the concrete has been replaced.
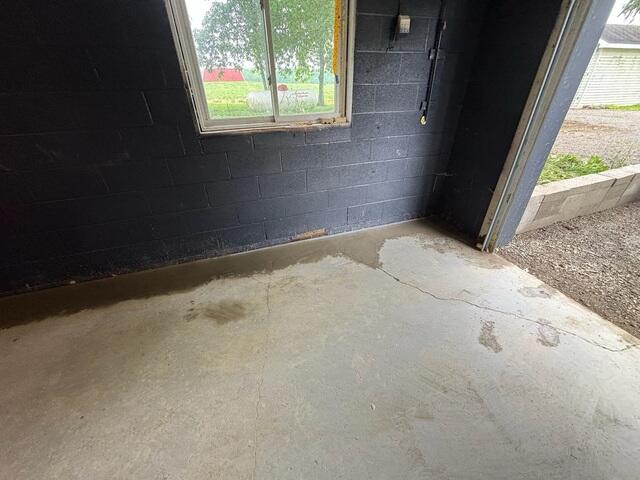
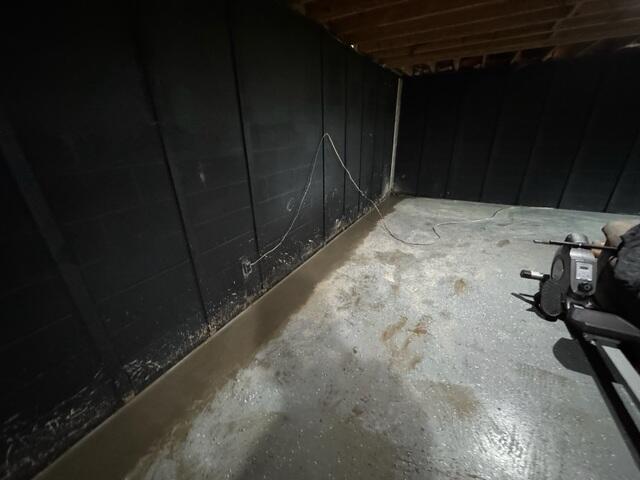
Finished WaterGuard
The WaterGuard System after the concrete has been restored. Please not the new concrete will not match the existing original concrete. Our team will smooth the concrete out flush, but the color will most likely not blend perfectly.
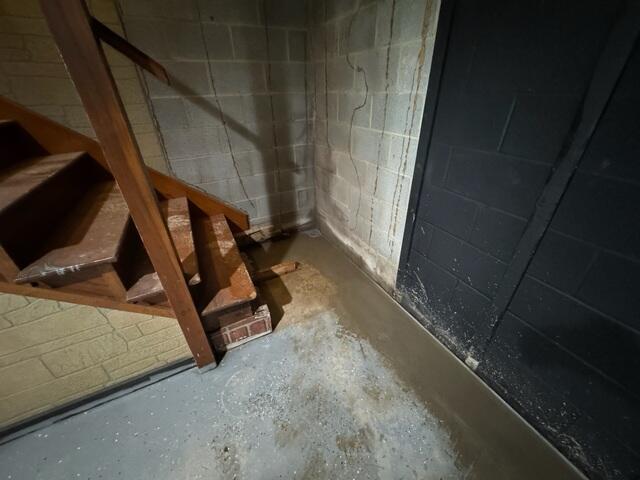
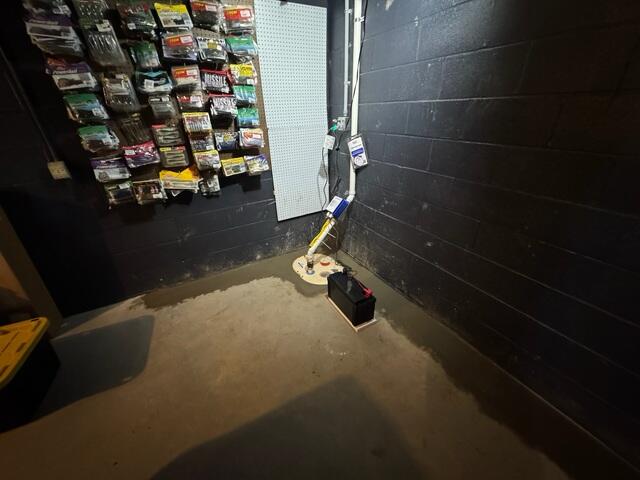
WaterGuard Completed
The WaterGuard installed near the base of the basement stairs.
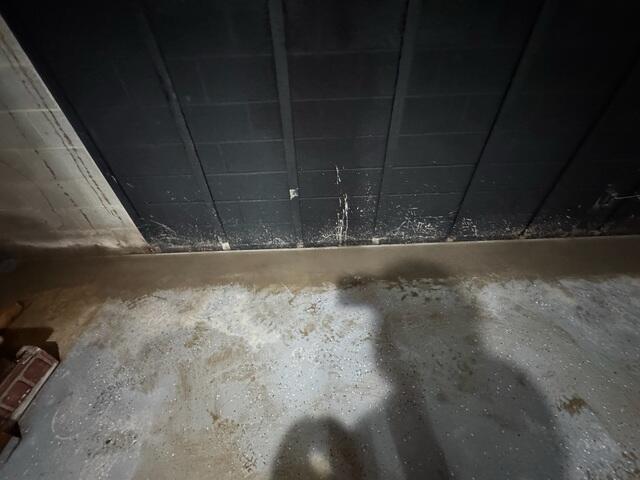
Seamless Integration with the Basement Floor
Once the concrete is poured over the WaterGuard, it blends smoothly into the basement floor while remaining fully functional beneath the surface.
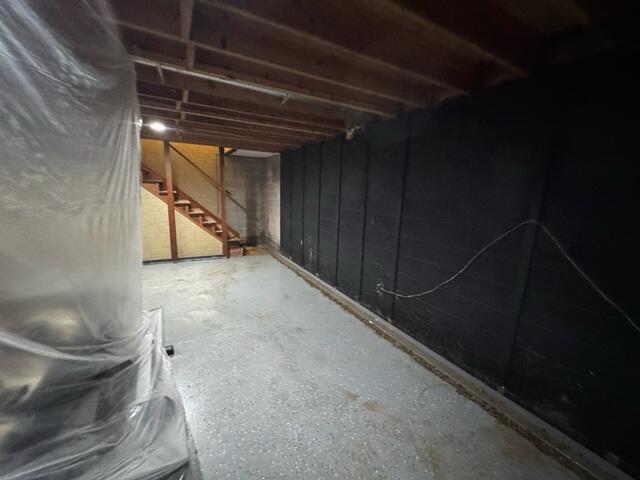
A Complete Waterproofing Solution
After all components were installed, including the WaterGuard, TrenchDrain, sump system, and downspout extensions. This basement is now fully protected and ready for move-in!
Real Estate Ready and Water-Protected
Thanks to our Real Estate Response Team, this basement was waterproofed quickly. mMaking the home move-in ready and protected from future water damage.